2-wire thermostat: how to connect it
You have purchased a new thermostat, or chronothermostat, for your boiler. You've seen that it involves connecting two wires and you're in doubt about how to do it. Then don't worry, in this guide you we explain step by step as carry out the installation , and you will find that it is much simpler than you thought.
Before we start
If you have a 2-wire boiler thermostat it means that it is on battery , which makes its easier installation because we won't have to worry about connecting the power supply, but only the two boiler consent cables (which in the manuals are referred to as TA consent).
In this tutorial we will consider the case in which you go to replace an old thermostat . However, if you need to proceed with a new installation, we refer you to our in-depth analysis. Where to install the thermostat , dedicated to how to choose the ideal place to mount a thermostat.
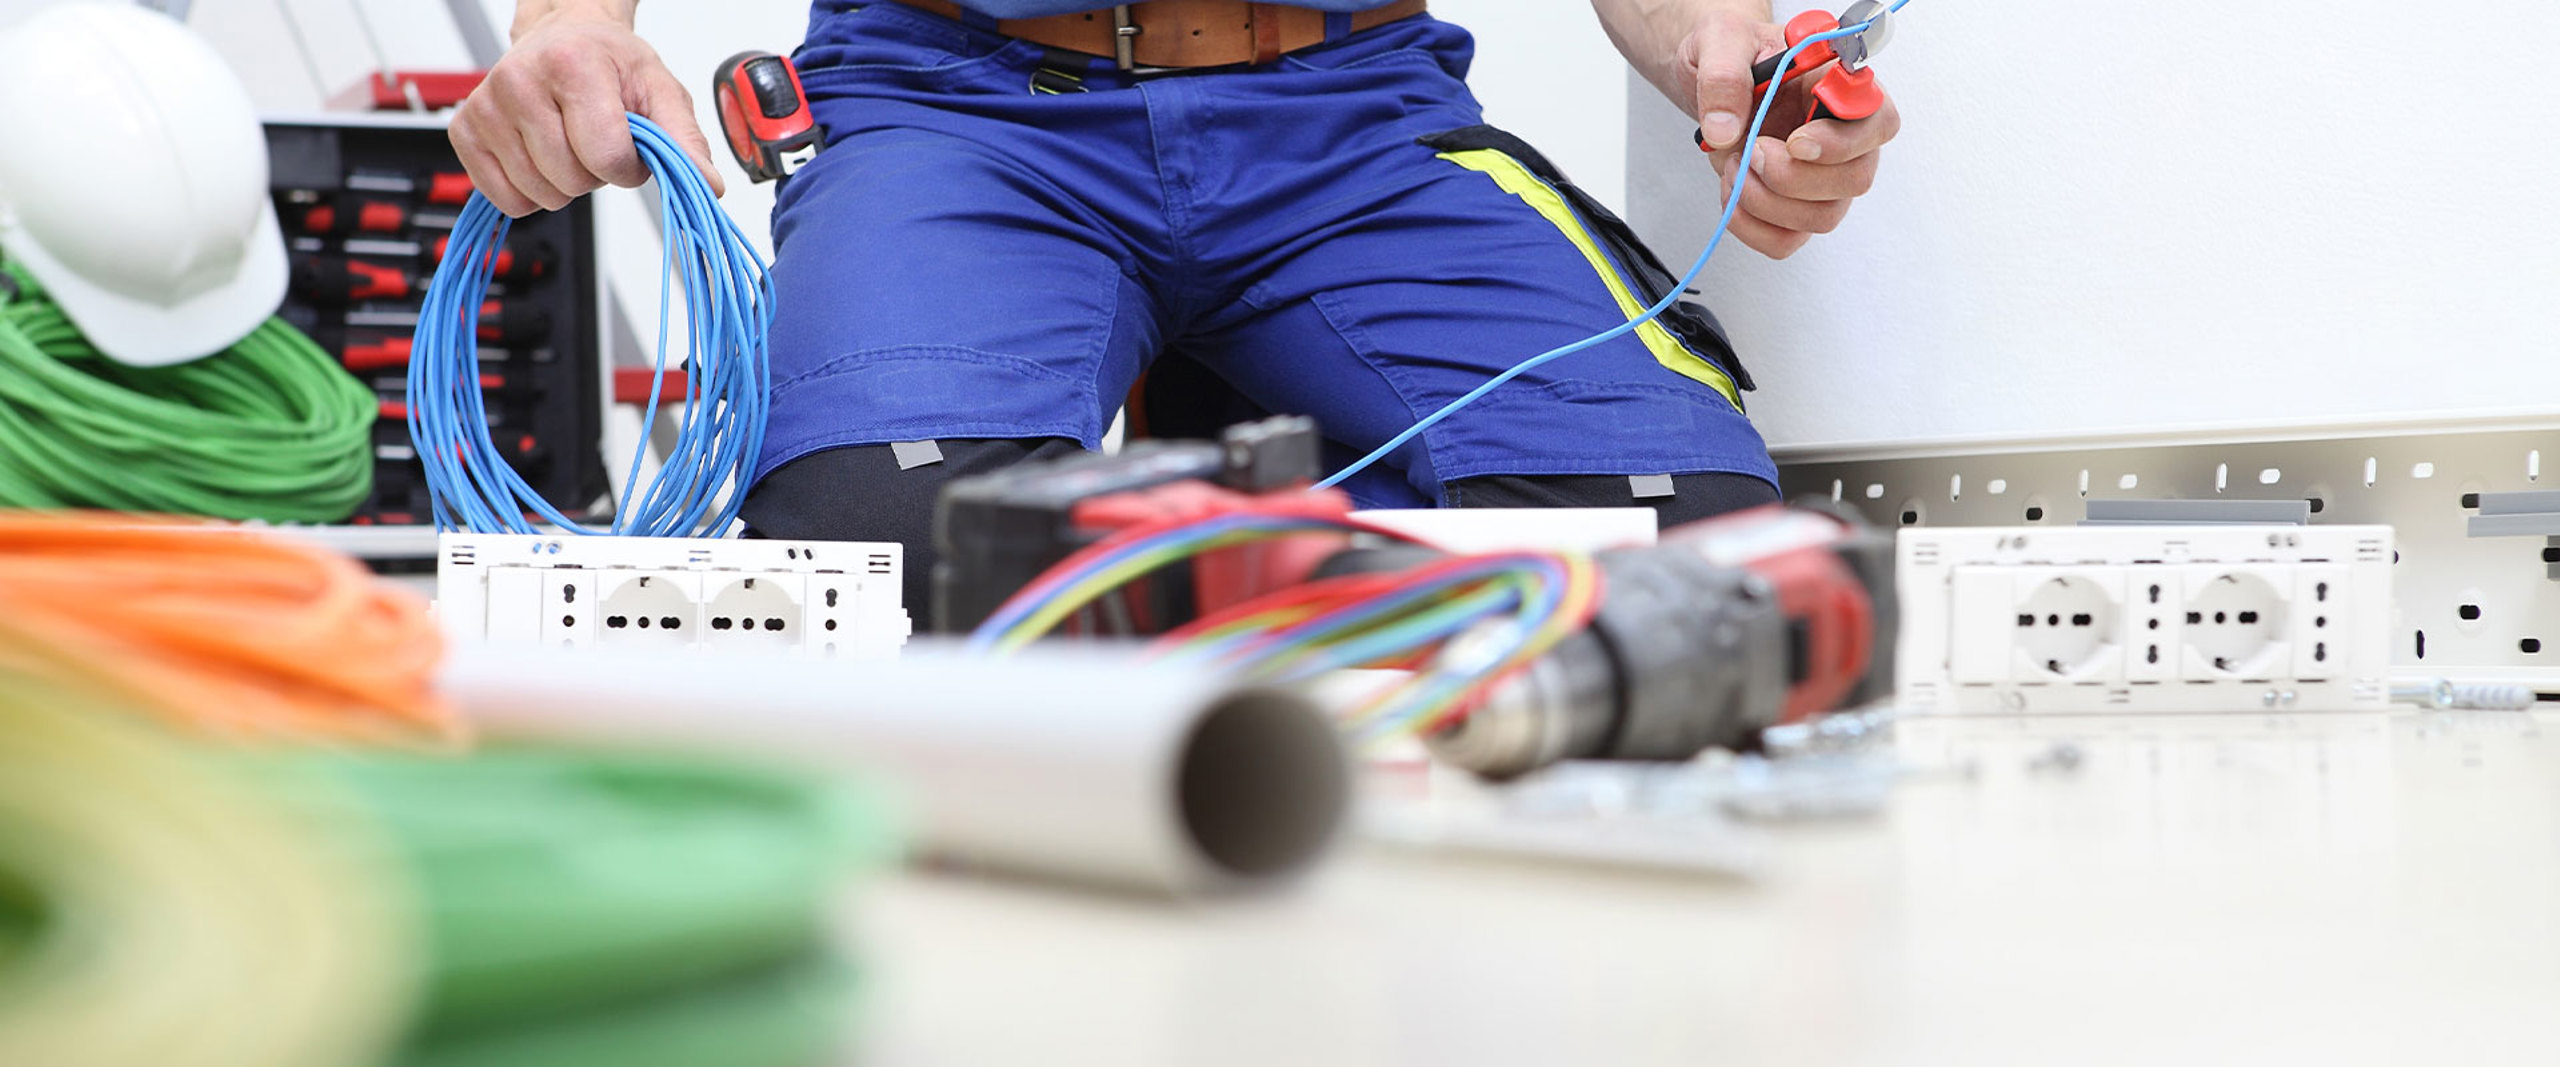
▲ ATTENTION : Before carrying out any connection operation disconnect the mains voltage .
Connect a two-wire thermostat in 4 steps
In our example we will use a chronothermostat Freetime Evo , but the steps illustrated may apply to all 2-wire thermostats which communicate with the boiler via TA consent.
1. Locate the 2 wires to connect
The first point would actually be, arm yourself with a screwdriver, but we take that for granted! Let's proceed to remove the thermostat that we want to replace and try to identify the consent wires. Two paths open:
- The old thermostat is to batteries : well, there should only be two cables connected, those for the boiler consent.
- The old thermostat is at 230V. In this case you should find 4 cables attached (e.g. photo below). Isolate the two connected to L and N contacts , are those of the electric current.
The one described is the most common standard situation, however there could be different specific cases, such as a thermostat connected with three wires. In these cases it can be more complicated to identify the role of the individual wires and it is best to rely on a professional.

2. Check the thermostat connection diagram
Once we have identified the cables we need to understand how to connect them. To do this you need to check the connection diagram of the thermostat . Below is the example referring to Freetime. Simply follow the numbering shown in the diagram on the terminal block.
But wait a moment. The CT cables have the same color, what happens if I reverse them? Nothing! For clarification on this matter, please refer to our article: What happens if I reverse the thermostat wires?
Where to install a gas detector?
- In the kitchen , near the stove and gas pipes.
- In the boiler room , to monitor any leaks from the gas boiler.
- Near stoves or gas systems , in closed environments.
For further information on the installation of these devices, you can read our in-depth analysis: How to install a gas detector .
If, however, you have doubts about which model might be suitable for you, or which are the essential features to evaluate when purchasing a gas detector, then this article can help you: How to choose the gas detector .
Being aware of the signs of a gas leak and knowing what to do in an emergency can make the difference between safety and danger. Installing a gas detector is an effective prevention measure that gives you and your family greater peace of mind.
3. Connect the 2 wires to the thermostat
We then proceed with the actual connection and fixing the base to the wall . Most thermostats on the market are compatible with 503 cassettes, so this operation is very simple.
4. Attach the thermostat to the base
At this point all we have to do is reattach the thermostat to the base and proceed with switching it on and programming .
I followed all the steps, how do I know if the thermostat is working?
Ok, our new thermostat is installed and active, but Will work properly ? There is a very simple way to find out:
- Set the thermostat manually
- Raise the comfort temperature so that it exceeds the temperature detected in the room
- At this point you should hear a metallic click (the relay tripping) and seeing a flame on the thermostat screen
- The boiler should turn on .
If all the steps have been successful you can consider the installation of the thermostat complete!
Something didn't work? If the problem is point three (the relay does not trip) then it could be a defect in the thermostat. If the problem is in point 4, then you must review the connections and make sure you have made them as indicated in the thermostat wiring diagram.
I have a programmable thermostat instead of a thermostat, are there any differences in the installation?
No, if you have a 2-wire programmable thermostat, the steps to connect it are exactly the same , in this guide we have actually used this device.
The difference between thermostat and chronothermostat is in the operating mode , the first is comparable to a simple on-off switch, the second allows you to adjust switching on and off on an hourly basis, allowing for considerable savings. For further information you can read our article: Thermostat or Chronothermostat .


